Hardwood Pellets vs. Softwood Pellets
Should you choose hardwood or softwood pellets for your stove? Many homeowners new to pellet heating have this question on …
01.27.2025
4 minute read

Your pellet stove has likely been quiet since spring, and a few things may have changed while it's sat dormant. Ash can settle in the burn pot, dust can collect on the fans, pellets can absorb moisture in the hopper and gaskets can compress over time. Those changes are normal and not cause for alarm.
Many early winter startup problems result from neglect, so you can simplify your life by paying attention to routine pellet stove winter prep. Here is how to winterize a pellet stove with simple household tools, a careful cleaning and a short test burn.
A stove that's been idle all summer needs a full interior cleaning before you fire it up for the first cold snap. Focus on the burn pot, ash pan, heat exchanger, firebox and hopper during this stage of winter prep.
A smooth pellet stove startup begins with a clean, properly seated burn pot.
Place a drop cloth at the base to contain ash, and wear gloves and a respirator while you work.
Old, damp pellets that have remained in place since spring may absorb moisture, clump and jam the feed system.
Think of the exhaust vent as the stove’s airway. When it gets dirty or blocked, airflow drops and burn quality can suffer. If you installed a vent cap last season, remove it before starting the stove. Follow pellet stove safety precautions and keep the exhaust vent clear for steady, safer operation all winter.
The combustion fan, also called the exhaust fan, moves air through the burn chamber. Dirty blades can limit airflow and affect combustion.
The distribution fan, or room-air fan, moves warm air into the living space. Dust on the paddle blades can reduce output and strain the motor.
Some models need a few drops of oil to run smoothly all season. Check your owner’s manual to determine if this rule of thumb applies to your pellet stove.
Gaskets create an airtight seal that allows the stove to maintain proper combustion pressure. Compression and heat cycles can leave gaskets flattened or cracked after an offseason, and this wear and tear will reduce heat output and make the stove work harder.
Use the dollar bill test to check gaskets and door seals. Place a dollar bill in the door, then latch the door. If the bill slides out without resistance, the gasket may need replacing. Test the full perimeter — a gasket can hold at the top but loosen along the sides.
Most hardware stores carry replacement rope gaskets, and the repair is straightforward enough that many homeowners can complete it themselves. Remember to check the ash pan and glass door gaskets while the stove is open.
A short test burn will determine whether your stove is ready to provide reliable heat before you have to rely on it daily.
Fall pellet stove maintenance also includes checking your fuel supply. Stocking up before peak season can help you avoid limited availability and higher prices once temperatures drop.
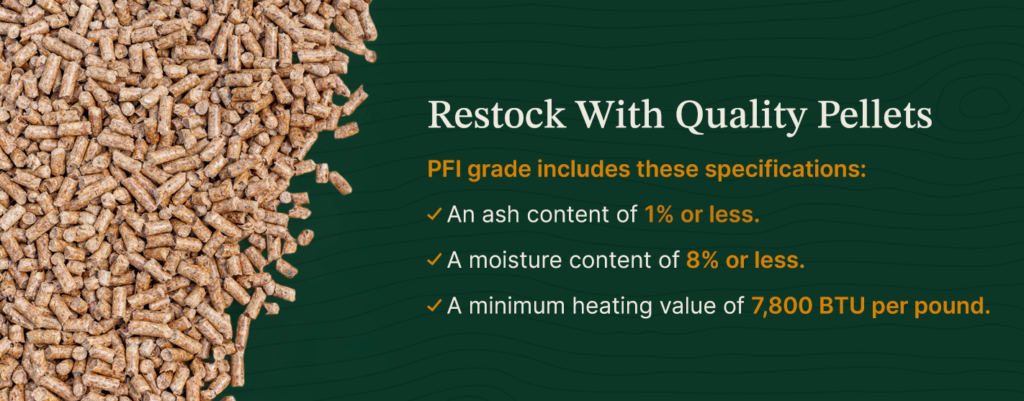
Compare certified pellet brands before you buy. The Pellet Fuels Institute uses third-party inspections and lab testing to determine whether pellet fuel meets consistently stringent quality standards.
PFI grade includes these specifications:
Lower ash content can reduce the frequency of midseason cleanings, and pellets with less moisture burn more cleanly. Store pellets in sealed bags in a dry, off-ground area to prevent moisture damage.
Some homeowners can complete pellet stove maintenance in a few hours using simple household tools. DIY prep usually covers the hands-on basics, including interior cleaning and a short test burn.
The National Fire Protection Association’s NFPA 211 standard covers chimneys, fireplaces, vents and solid-fuel-burning appliances. Plan annual maintenance for the venting system and blower fan as part of your heating-season routine.
Call a professional to handle more complex tasks, including:
Getting a pellet stove ready for winter involves choosing a top-notch, reliable fuel source. PFI-certified pellets burn cleaner and more consistently, which can mean less ash to manage and steadier heat throughout winter.
Find a local retailer to stock up on certified brands and settle in for a warm season ahead.